
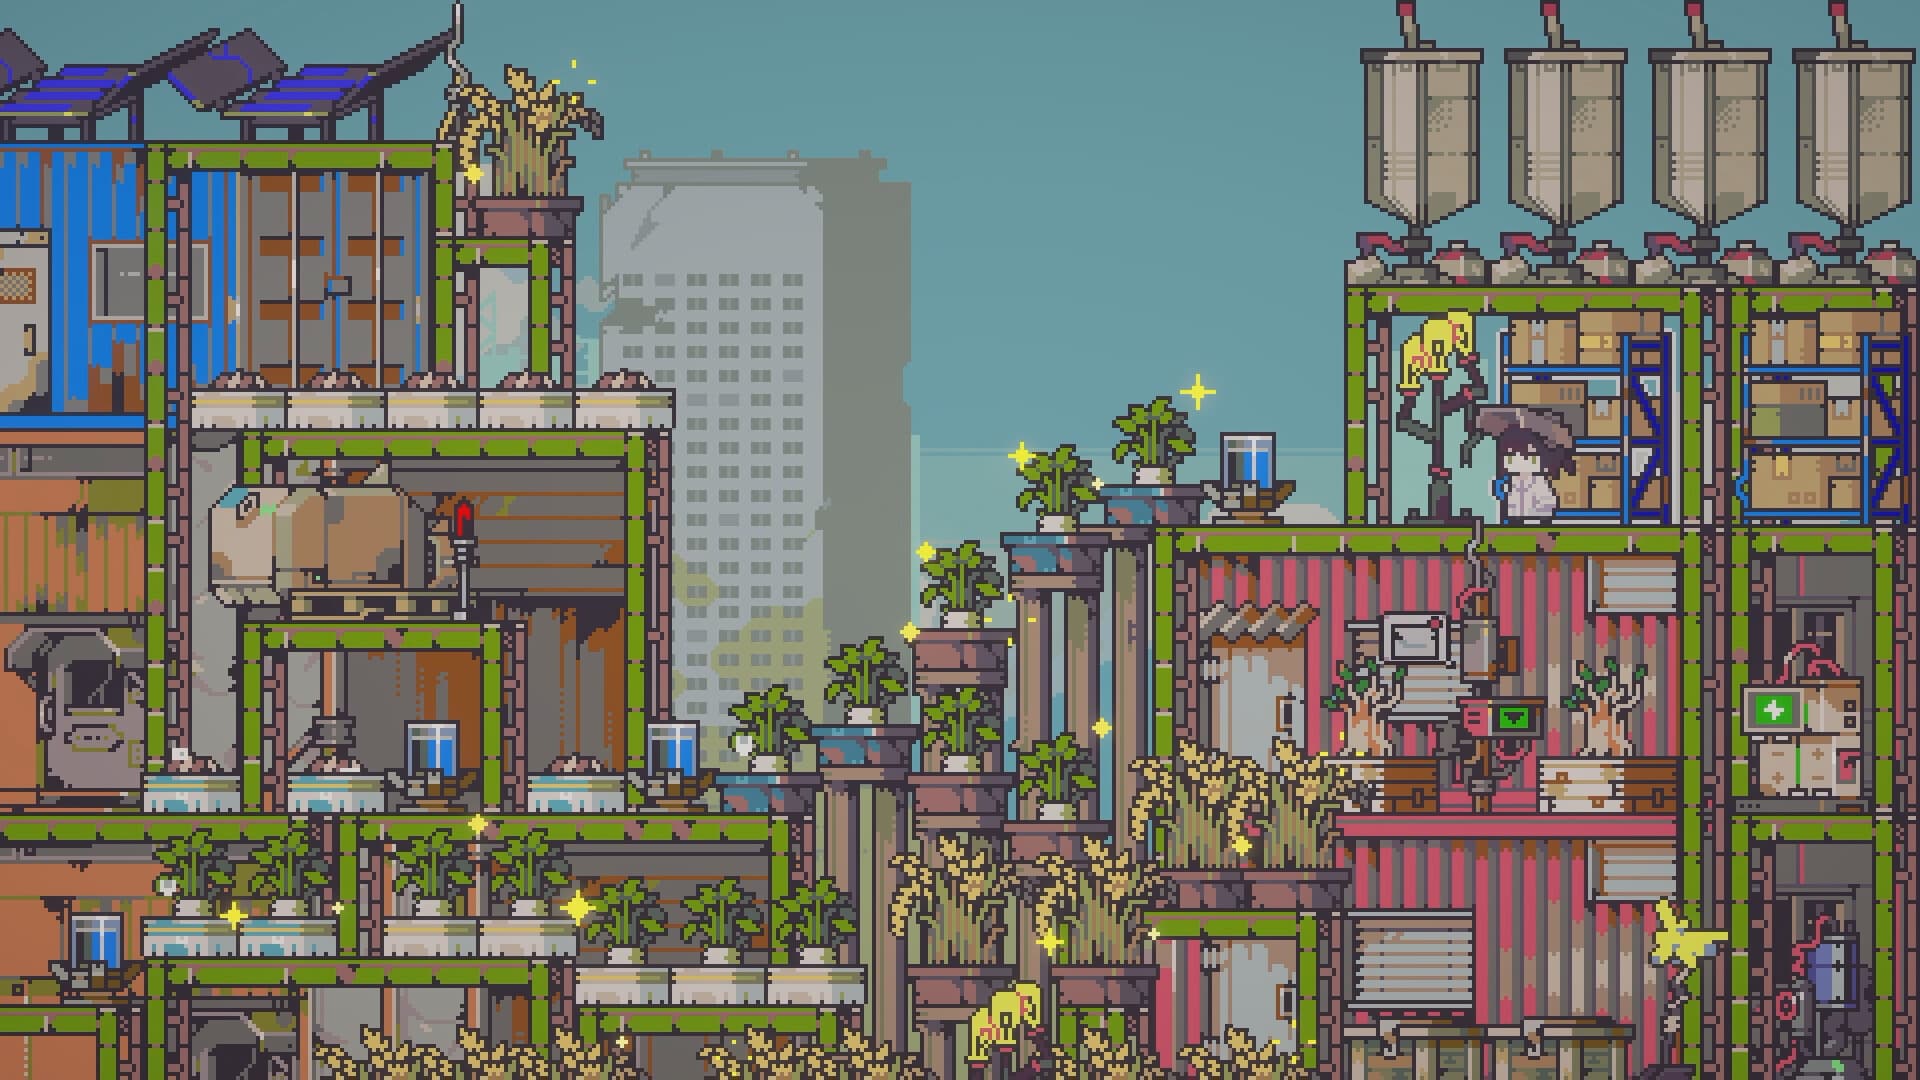
This is the Doloc Town first-hours walkthrough, not the full item wiki. Cheese, feathers, wire puzzles and vehicles have their own pages. Advance the Kasia, Mayor, Valley and Guild tasks before expanding the farm. Secure storage and a Copper Pickaxe, then open the drone, protected vertical farming, Treaty Port and fast travel as those quests appear. Exact prices and drop rates are still to be confirmed in version 1.0.
Version note: Doloc Town changed substantially between Early Access and 1.0. Treat exact prices, drop rates and old quest coordinates as leads until they match your current build.
Getting started without wasting the first days
Prioritize the task chain that opens movement, the River Valley/Guild systems and the combat drone. These unlocks remove more friction than decorating a large farm immediately. Pick through trash and loose scrap on every normal route, but do not spend the whole day clearing areas that you cannot yet use.
Build accessible storage early and keep tool, quest and building materials separate. Machines can work more smoothly when shelves are close, so leave a compact processing lane instead of scattering boxes across several floors. Upgrade the pickaxe before chasing ore-heavy construction, and expand only when you can protect and water the new plots.
A safe early order: story access → storage → reliable tools → protected crops → drone and travel unlocks → larger production. Sleeping advances the day, so finish collection and machine loading before ending it.
Crop basins, vertical farms and dangerous weather
Read the crop type before choosing a basin. Vine crops such as Hops need the matching vine setup; a seed placed in the wrong structure will not become productive simply because it is watered. Keep one test plot near your main route before committing a whole floor to a new crop.
Vertical farming saves ground space, but access matters. Leave a clear ladder or stair line, group irrigation by visible coverage and keep storage within a short walk. Heatwaves and acid rain are not cosmetic: prepare cover and watering capacity before the forecast arrives. If watering appears to evaporate, check the active weather effect and the protection above the crop before assuming the tool is broken.
Cooking stations, recipes and processed ingredients
Cooking is split across stations. Pots, teapots and ovens handle different recipe families, while the Pickling Jar, Drying Box and similar machines form separate processing chains. A fixed recipe is normally recorded after the first successful result; adding random ingredients can instead create a flexible dish or a failed meal.
For Candied Wax Apple, older sources consistently point to processing Wax Apple in a Pickling Jar. It is also tied to Paiea's Treaty Port exchange, so keep the quest stack instead of selling every batch. Older guides describe cheese as dried milk and use it in Cheesecake and Tiramisu, but recheck the station name and processing time in 1.0 before planning a large line.
Coal, feathers, Golden Fish and Kelp
- Coal: mine Coal Ore and rock piles, check relevant enemy drops, or convert Wood in a Charcoal Kiln. Merlin can cover an urgent early shortage. Recent 1.0-oriented tips report a free kiln through normal progression, so avoid rushing a duplicate unlock.
- Feather: community records connect feathers to Pheasant husbandry and an internal feeding condition. Animals eating planted crops, weeds or flowers may advance it. The exact 1.0 trigger count remains unverified, so protect valuable fields and test with a controlled feeding patch.
- Golden Fish: the most repeated location is the Deep Forest pond near the deer statue. Weather, season and alternate-port reports conflict across versions; verify the current fishing archive rather than treating an old probability as guaranteed.
- Seaweed / Kelp: the English item is usually called Kelp. Fish at Doloc Port's central saltwater area or check Paiea's stock. Some old sources attach rain or storm conditions, while recent footage shows frequent port catches, so treat weather as version-sensitive.
Drone frames, parts, chips and practical builds
Progress the River Valley/Guild line to reach the combat drone and training range. Drone equipment is not one pool: separate the Frame, Weapon, Engine, Support/Gadget and Chip slots. A part that will not equip often belongs to another slot or requires a frame with that slot available.
Cod is associated with weapon-related progression, while Mody handles frames and parts. Auto-fire is convenient for routine clearing but may attack otherwise passive creatures and can waste power with inaccurate weapons. Use manual control when targets or battery life matter. Higher-tier frames provide more build freedom; no single community “best build” is universal until damage, accuracy and energy are tested on the same target.
Wire puzzle, Small Batteries and Zeni's cup
The environmental-restoration wire task is commonly documented as requiring 2 Small Batteries and 5 Electric Wires before the connection step. Do not confuse Small Battery with larger power items. Old walkthrough footage begins by matching the left blue lead to the right red lead, but the complete order should be checked against the current 1.0 panel before publishing it as a permanent six-step solution.
For Zeni's missing cup, search for the Pretty Ceramic Cup around the bamboo and rubbish landmark described by the quest trail, then return it to Zenis. If the object is absent, confirm that the related mail or quest stage has actually activated; arriving at a location before the trigger can leave it empty.
Animal sheds and a maintainable ranch layout
Unlock basic ranching through its resident quest line before planning the Large Animal Shed. Current community data ties the larger blueprint to Treaty Port progress and a faction trade, so a missing blueprint is usually a progression issue rather than a hidden shop refresh.
Inside any shed, design for the daily loop: a clear central walking lane, feed and habitat zones on one side, collection on the other, and storage beside processing machines. Community measurements for the Large Animal Shed describe a spacious interior, but there is no verified universal 1.0 “best layout.” Start with workflow, then expand capacity only after timing your own route.
Axolotl Trail, the Wetlands and the flying motorcycle
The Axolotl Trail route is connected to repairing access toward the Wetlands and to Paiea's exchange chain. Older walkthroughs are useful for recognizing the hovercraft, broken pipes and repair targets, but 1.0 may shift prerequisites. Carry quest materials before taking the long route and use each newly opened travel point.
The Flying Motorcycle comes from Lank's Secret Mission chain and leads to the Through The Roof! achievement. Old material lists mention Rusted Metal Plate, Old Engine Core and Scrap Iron Frame, followed by password clues from several residents. A 1.0 playthrough confirms the vehicle still exists and warns that enemy hits can knock the rider down, so it is mobility—not invulnerability.
Hidden achievements and version-safe completion
Steam currently lists 80 achievements, while older community checklists cover a much smaller Early Access set. Use Steam as the total-count authority and treat old trigger instructions as candidates. Confirm a hidden condition with a fresh 1.0 save or a current unlock report before marking it guaranteed.
Known older leads include unusual trash interactions, a leap from a mountain cliff, giving a Radish to the deer statue, eating a final failed dish and littering in a particular area. Some may have moved, changed names or become non-hidden. Back up the save before one-off experiments and record the build number when a trigger succeeds.
Continue with the guide that matches your blocker
Use the Doloc Town Cooking Recipes guide when a station, processed ingredient or recipe unlock is stopping progress. For a task-panel roadblock, the Doloc Town Wire Puzzle guide separates the recorded connection order from details that still need a 1.0 check.
When the next bottleneck is equipment rather than a quest, continue to the Doloc Town Drone guide. This keeps the beginner walkthrough focused on progression order while each specific page owns its own search intent.